


Managing personal or business finances effectively requires tracking expenses closely. Google Sheets offers a flexible and accessible platform for building a custom expense tracker that can help you monitor your financial activities over time.
How do you create an expense tracker in Google Sheets?
Here’s a step-by-step guide to creating an expense tracker in Google Sheets.
Step 1: Set up your spreadsheet.
Open a Google Sheet: Start a new Google Sheet by going to Google Sheets in your browser.
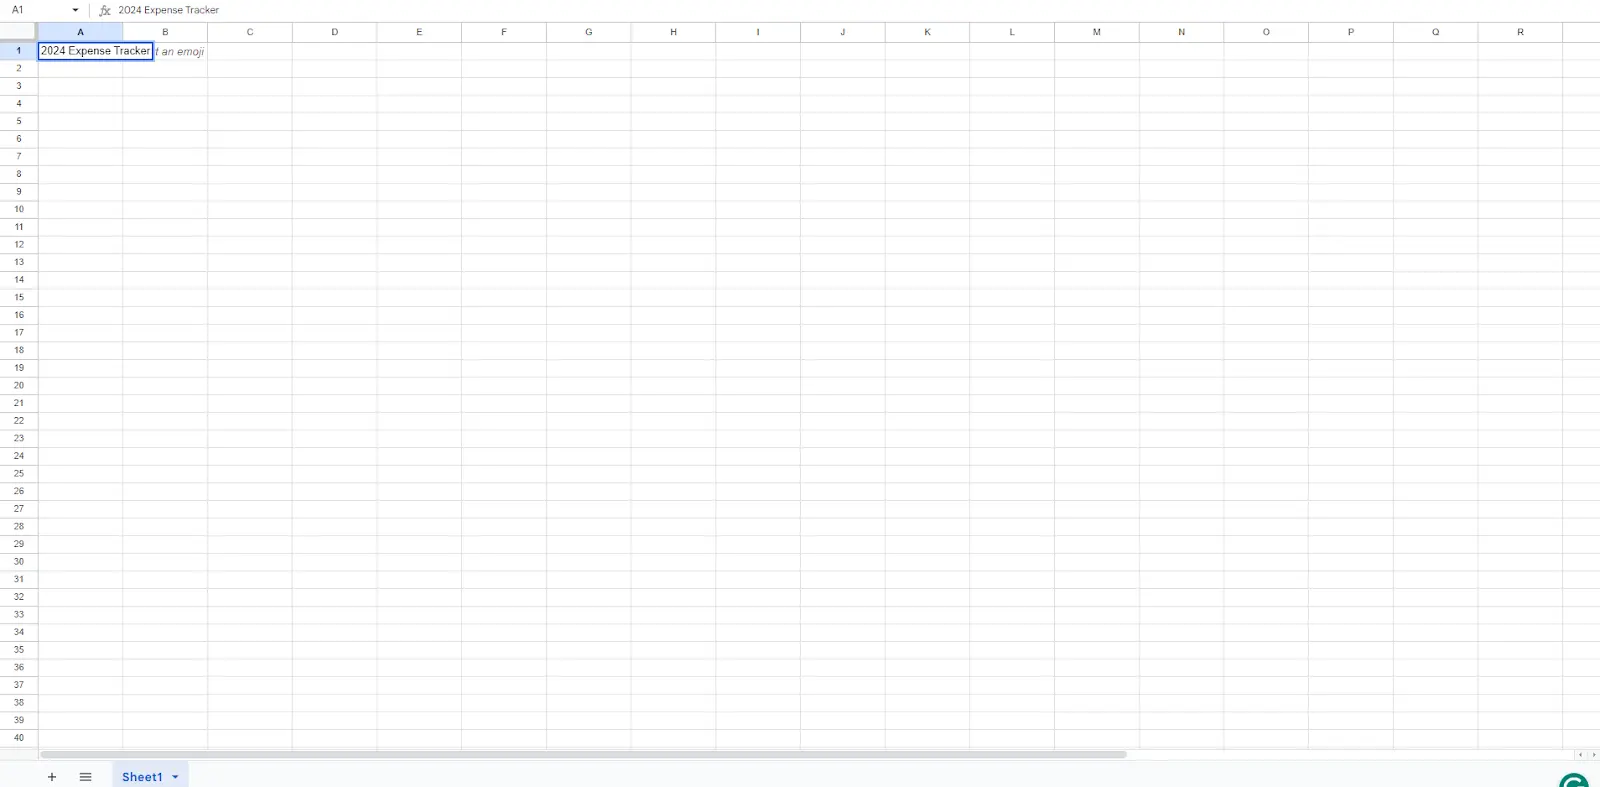
Name your expense tracker form: Click on the title ("Untitled Spreadsheet") and rename it to something descriptive like "2024 Expense Tracker".
Step 2: Determine if you will generate a daily, weekly, or monthly expense tracker.
Step 3: Insert essential fields for expense data entry.
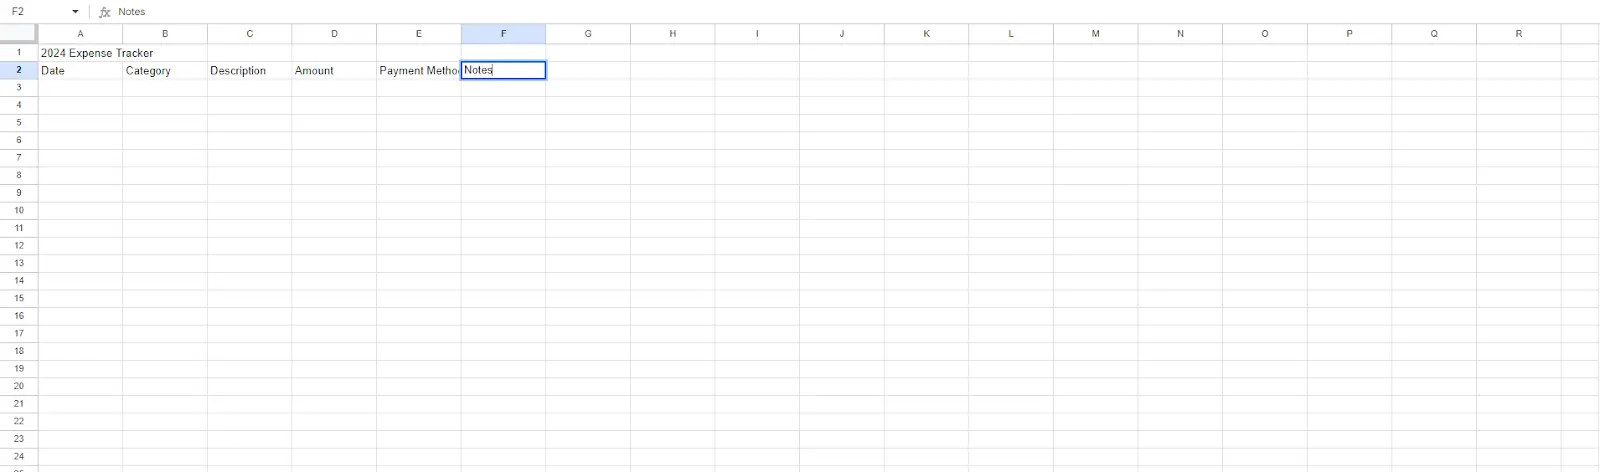
Date: In column A, title the first cell "Date". The date column will hold the date of each expense.
Expense categories: In column B, title the first cell "Category." The rows will categorize expenses such as food, utilities, transportation, etc.
Description: In column C, use "Description" to give more details about the expense.
Amount: In column D, title this "Amount" to note how much was spent.
Payment method: In column E, title it "Payment Method" to track whether you paid by cash, credit, or debit.
Notes: In column F, add "Notes" for any additional relevant information.
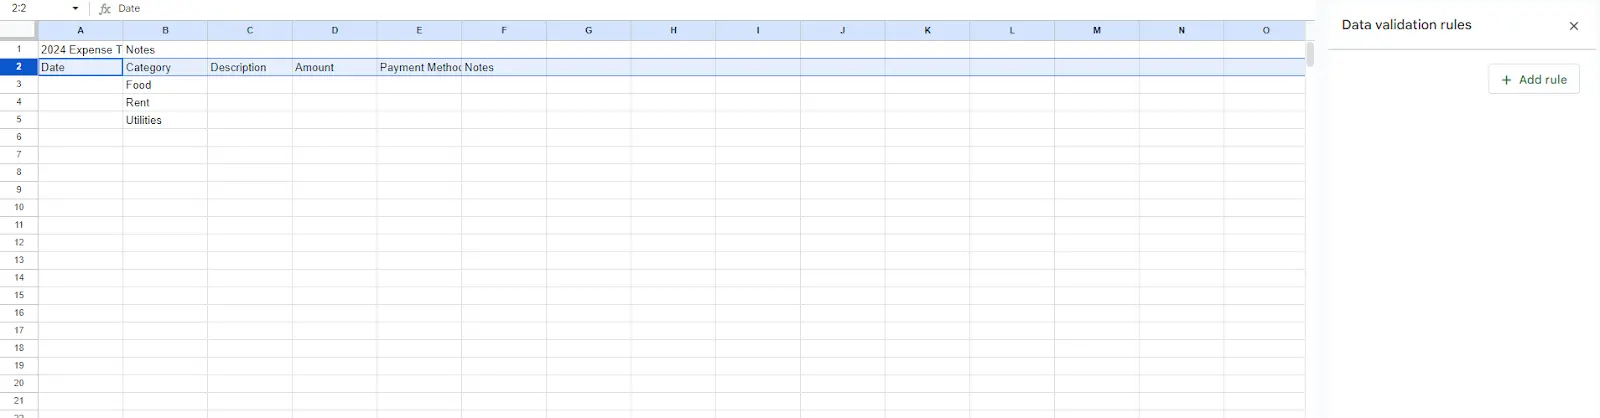
Step 4: Add data validation.
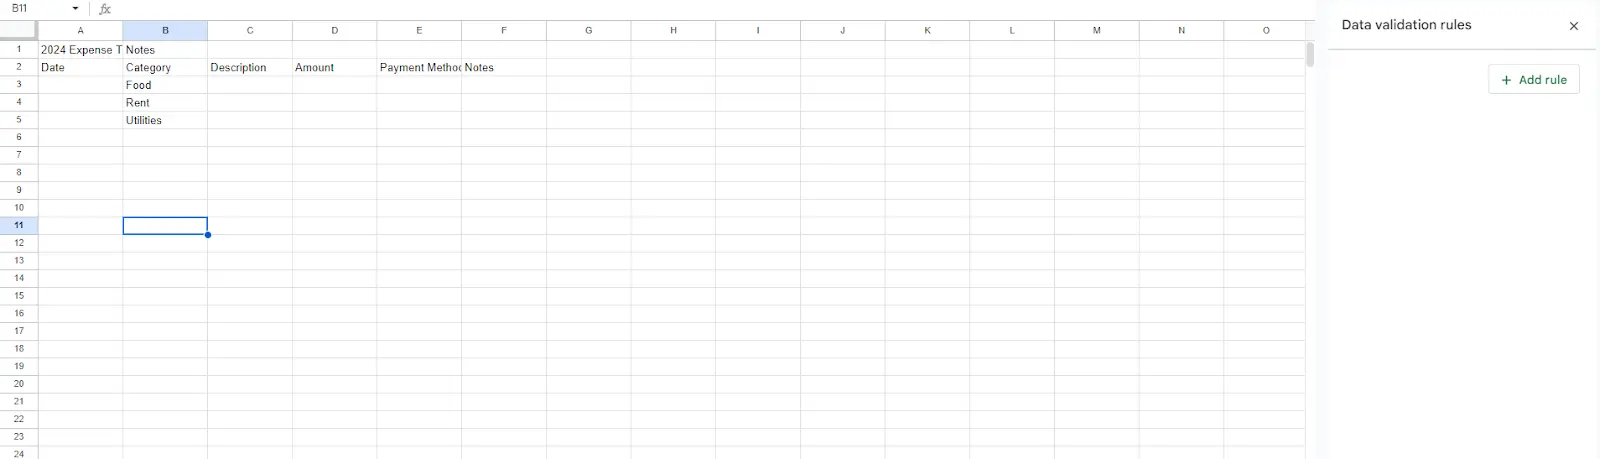
Dropdown for categories: Select column B, go to Data > Data validation, choose "List of items," and enter your categories separated by commas (e.g., Food, Rent, Utilities). This makes categorizing expenses consistently easier.
Dropdown for payment methods: Apply the same to column E for methods like Cash, Credit Card, Debit Card, and Online Payment.
Step 5: Format for better visibility.
Header formatting: Highlight the first row, then choose a background color from the fill color option to differentiate the headers.
Column widths: Adjust the width of the columns as necessary by dragging the separators in the column headers.
Currency format: Click column D to Format > Number > Currency to automatically format financial amounts.
Step 6: Create totals and insights.
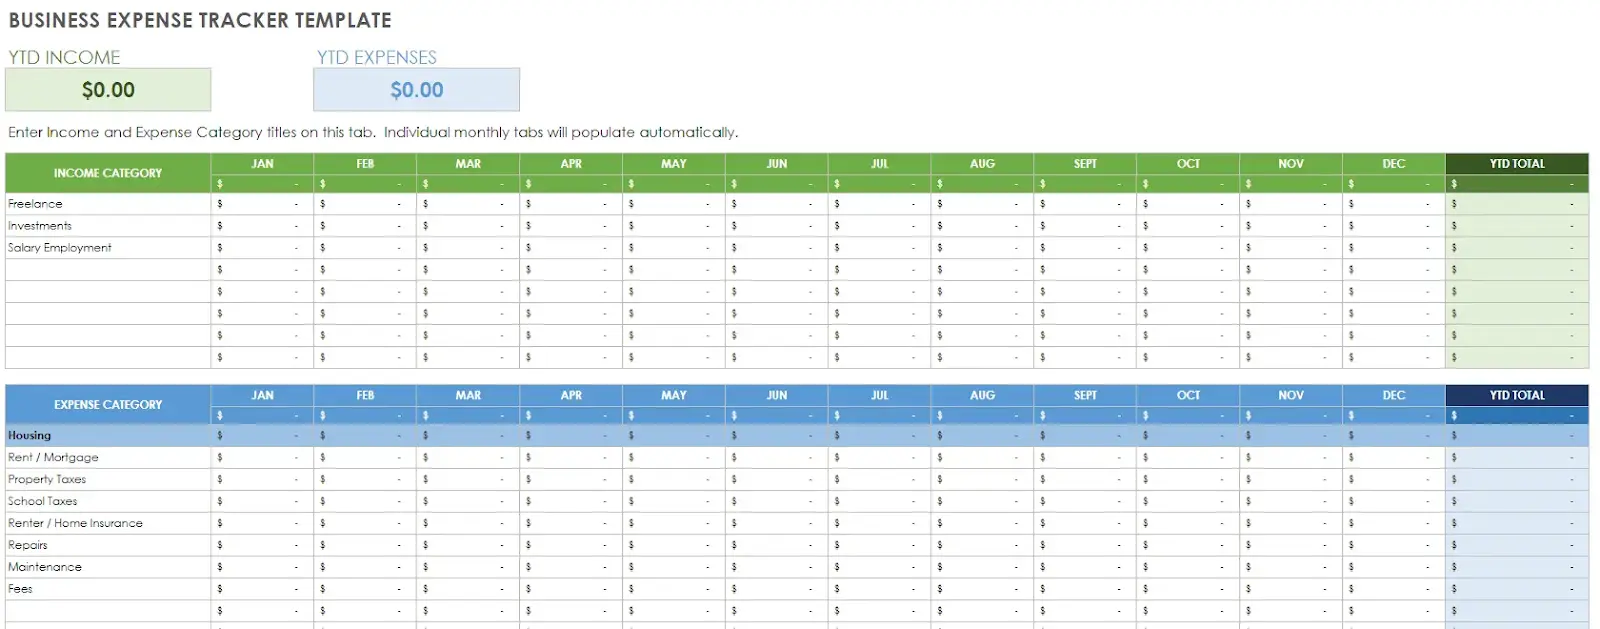
Monthly totals: Use the SUM function to add monthly expenses at the bottom or on a separate sheet. For instance, =SUM(D2:D100), assuming your expenses are listed in these rows.
Category totals: Use the SUMIF function to see total spending per category. Example: =SUMIF(B: B, "Food," D:D) will total all entries categorized as Food.
Visualize data: Use the Chart feature (Insert > Chart) to create visual summaries, such as pie charts for categories or bar charts for monthly spending.
Step 7: Automatically link your form responses to a Google Sheet.
Google Forms link: To add expenses more easily, particularly on mobile, link a Google Form to the sheet where you input expenses into the form, and they automatically populate the sheet. You can even import bank transactions to the Google Sheets expense tracker template.
Conditional formatting: Use conditional formatting to highlight expenses that exceed a certain threshold or to color-code specific categories.
Step 8: Review and test the form for accuracy.
This guide outlines a basic structure, but Google Sheets’ flexibility allows you to customize extensively and add categories based on your specific needs and preferences.
Can you create an expense report template using Google Sheets?
You can also create expense report templates using Google Sheets.
Here's a guide for creating expense reports.
Step 1: Open Google Sheets.
Go to Google Sheets (sheets.google.com) and create a new spreadsheet.
Step 2: Set up your headers.
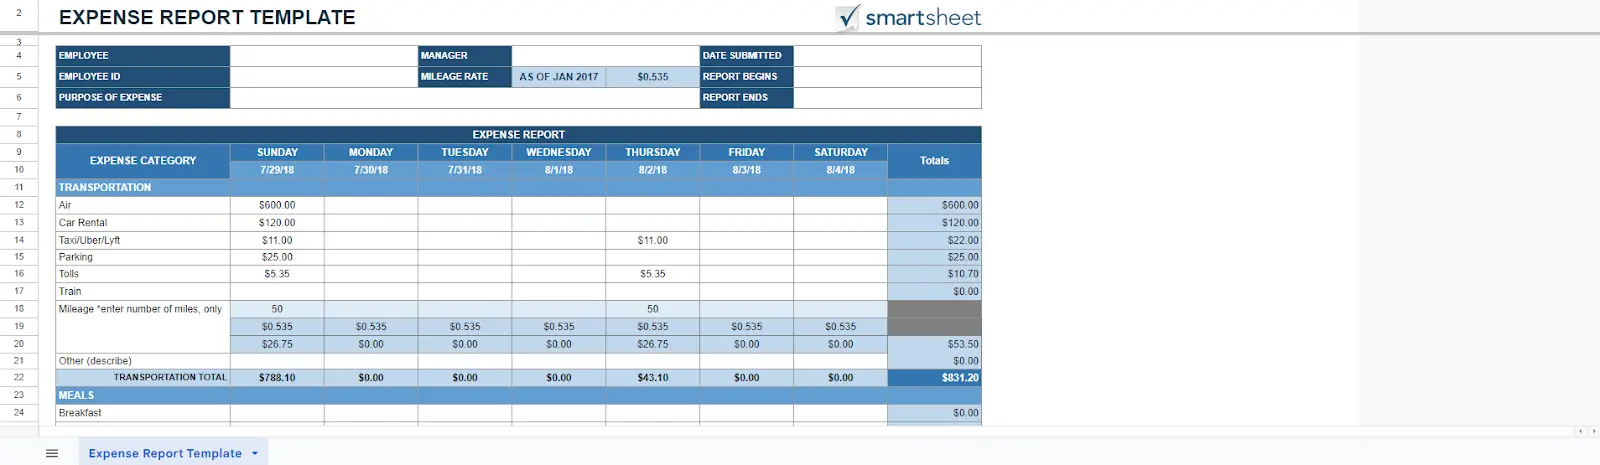
In the first row, enter the following headers to categorize your expense report:
A1: Date
B1: Category
C1: Description
D1: Amount
Step 3: Enter your expense data.
Start from the second row and enter your expense data. Fill in the date, category, description, and amount columns.
Step 4: Add totals.
You can use the SUM function to calculate the total amount spent. In the bottom rows, use the following formulas:
For total expenses: =SUM(D2:D100) (assuming your data goes up to row 100)
Step 5: Customize your template.
You can customize the template further by adding additional columns for payment method, receipt status, etc. You can also add charts to visualize your expense data.
Step 6: Save your template.
Save your expense report template to your Google Drive so you can access it whenever you need to update or review your expenses.
Can you make a budget spreadsheet using Google Sheets?
Creating a budget spreadsheet template in Google Sheets is a straightforward process.
Here's an essential step-by-step guide to get you started:
Step 1: Open a Google Sheet.
Go to Google Sheets (sheets.google.com) to create budget spreadsheets.
Step 2: Set up your headers.
In the first row, enter the following headers to categorize your budget items:
A1: Date
B1: Category
C1: Description
D1: Income
E1: Expenses
F1: Balance
Step 3: Decide what budget period to use.
Decide which budget period to use, such as a daily, weekly, or monthly budget template.
Step 4: Enter your budget categories.
Enter your budget items from the second row. Fill in the date, category, description, income, and expenses columns. Leave the balance column (F) blank for now.
Step 5: Calculate the balance.
In cell F2, enter the following formula to calculate the balance: =D2-E2. This formula subtracts the expenses from the income for each item, showing the remaining balance.
Step 6: Format your budget.
You can format your budget to make it more visually appealing and easier to read. You can bold the headers, use borders to separate the sections, and use different colors for income, expenses, and balance.
Step 7: Implement sum formulas for expense category totals.
To calculate the total income, expenses, and balance, you can use the SUM function. Implement Sum Formulas for Expense Category Totals. In the bottom rows, use the following formulas:
For total income: =SUM(D2:D100) (assuming your data goes up to row 100)
For total expenses: =SUM(E2:E100)
For total balance: =SUM(F2:F100)
Step 8: Customize your Google Sheet template.
Depending on your needs, you can add more columns for details, such as payment method, notes, etc. You can also add charts to visualize your budget data.
Step 9: Save your template.
Once you've created your budget template, save it to your Google Drive so you can access it whenever you need to update or review your budget.
Is there an expense-tracking alternative to manual spreadsheets?
In addition to manual spreadsheets, digital tools can easily track expenses.
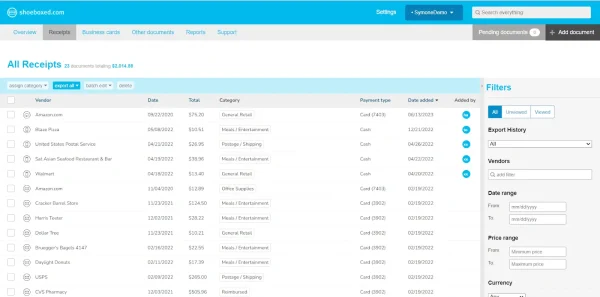
Bonus: Shoeboxed, a great alternative to manual spreadsheets
Shoeboxed is a powerful tool for tracking expenses, receipts, and documents. It offers a great alternative to manual spreadsheets.
Why is Shoeboxed a superior choice for many individuals and small businesses?
Shoeboxed offers many features to make expense tracking more efficient than manual tracking.
Automation of Data Entry
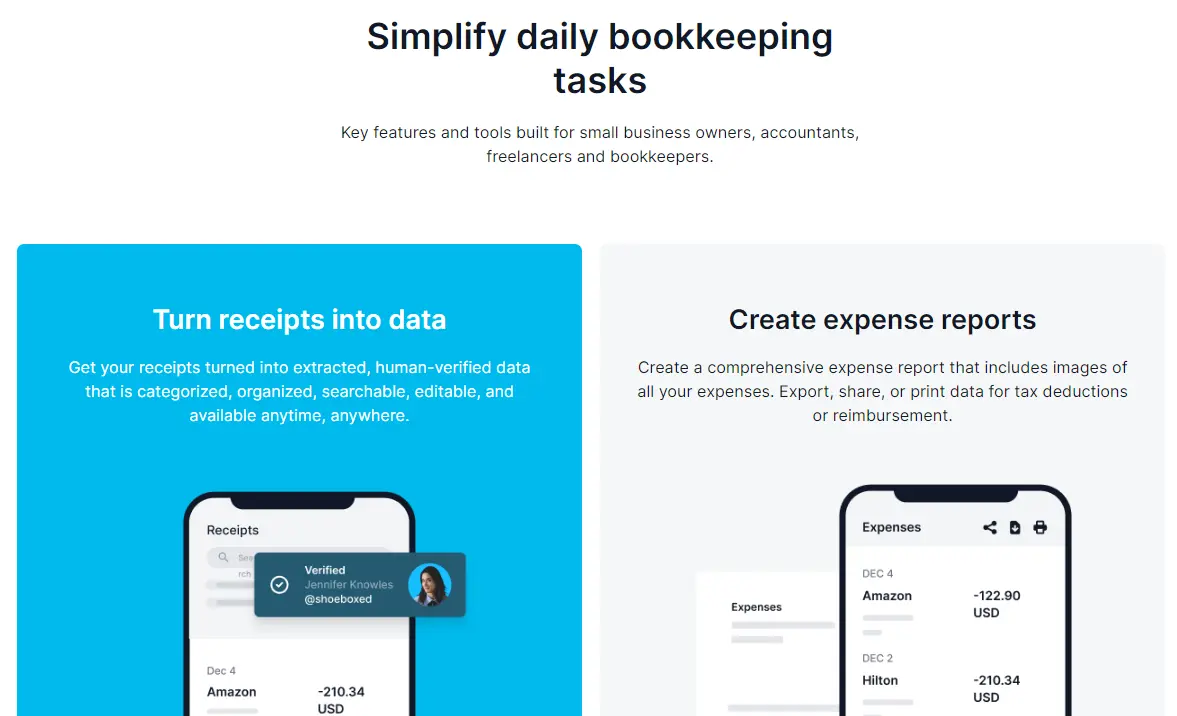
One of the most significant advantages of Shoeboxed over manual spreadsheets is its automation capabilities. Shoeboxed can automatically extract critical data from scanned receipts and business cards, including vendor, date, amount, and payment type. This automation reduces the time and potential errors associated with manual data entry, making it much more efficient than maintaining spreadsheets.
Break free from manual data entry ✨
Use Shoeboxed’s Magic Envelope to ship off your receipts and get them back as scanned data in a private, secure cloud-based account. 📁 Try free for 30 days!
Get Started TodayOrganized Document Storage
Shoeboxed provides a cloud-based solution for organizing receipts and business documents, which can be accessed from anywhere. This contrasts with spreadsheets, where document management involves manual organization, and storage can be disjointed depending on how files are saved and backed up.
IRS-Compliant Digital Archives
Shoeboxed ensures that all scanned receipts are compliant with IRS requirements. Knowing that your digital receipts are accepted by the IRS provides peace of mind during tax season or in the event of an audit. In contrast, maintaining physical receipts or using spreadsheets requires additional steps to ensure compliance and preservation.
Turn receipts into data for tax time ✨
Try Shoeboxed’s systematic award-winning approach to receipt tracking for tax season. Try free for 30 days!
Get Started TodayEase of Expense report
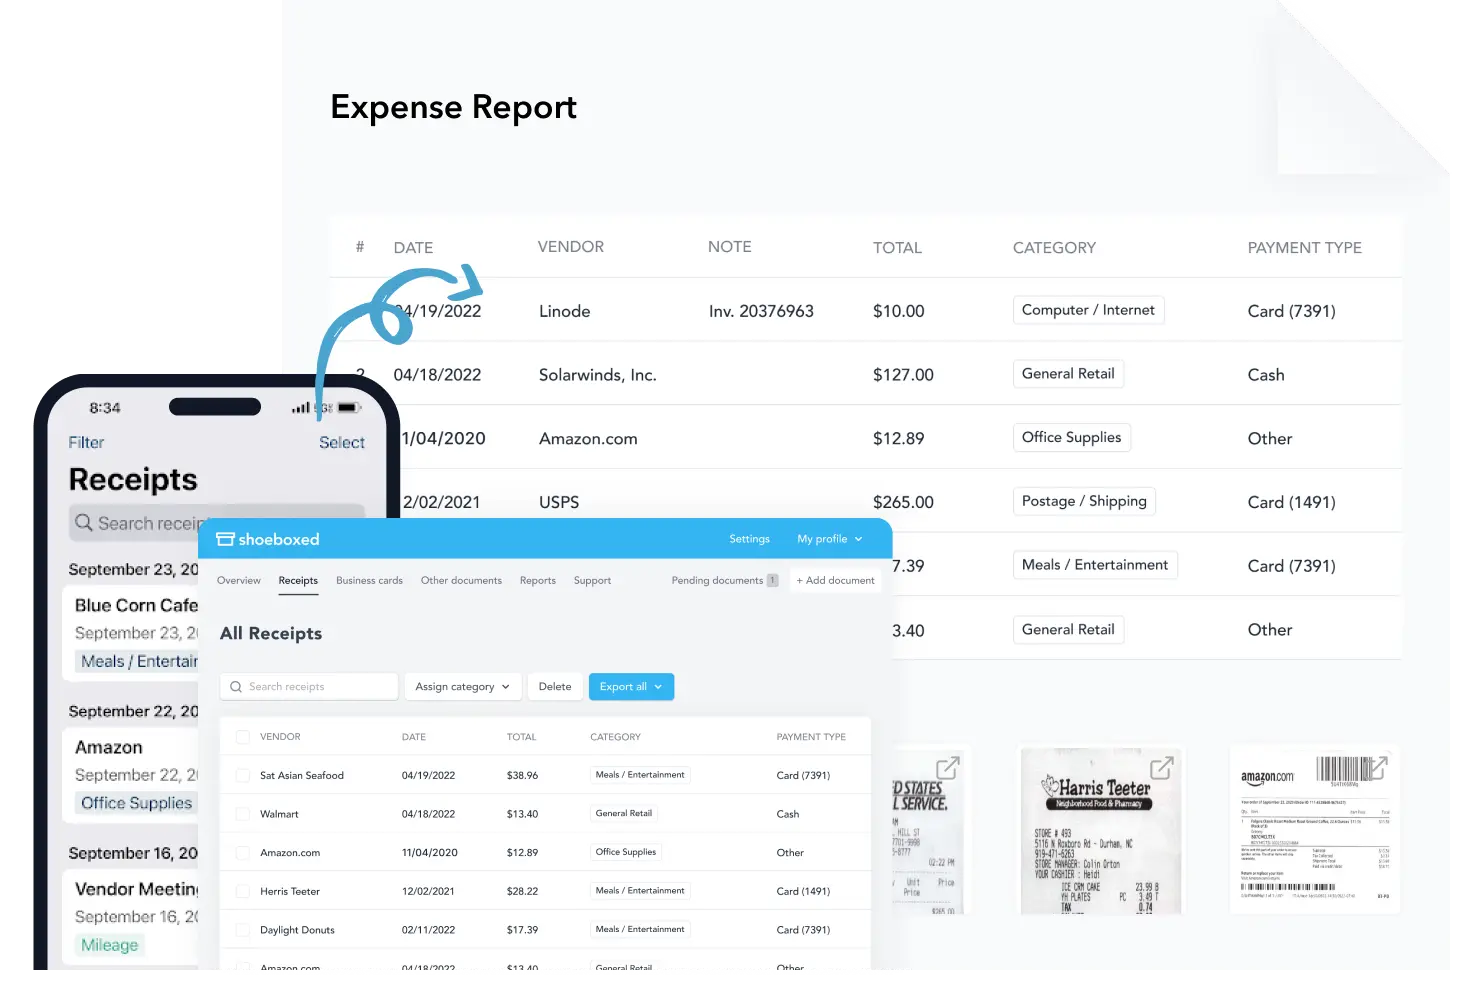
Generating expense reports with Shoeboxed is straightforward. Monthly expenses are auto-categorized, and users can easily create reports directly within the app. These reports can then be exported to PDF, CSV formats, or even to accounting software like QuickBooks. With spreadsheets, for example, creating similar reports typically requires more complex manipulation of data and formulas.
Mobile Accessibility
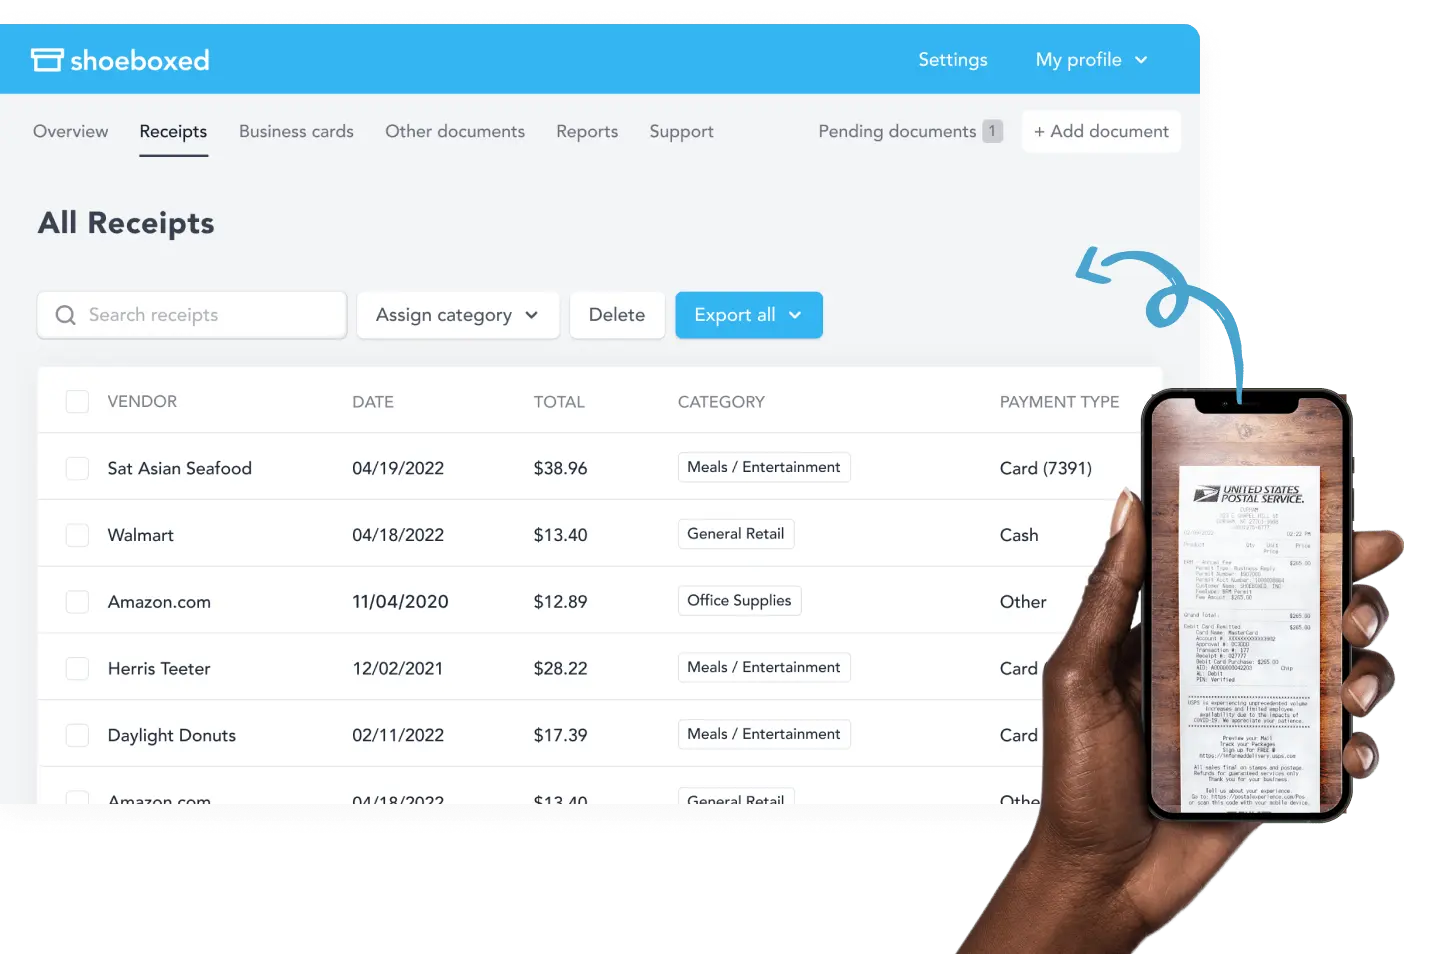
Shoeboxed offers a mobile app that allows users to snap pictures of receipts and business cards on the go. These images are automatically processed and categorized into 15 tax or custom categories. This mobile integration process is something that manual spreadsheets cannot offer, providing a significant advantage in terms of convenience and efficiency.
Integration with Accounting Software

Shoeboxed seamlessly integrates with significant accounting and bookkeeping platforms, enhancing the overall workflow for financial management. This integration allows for real-time, monthly income and expense tracking and financial reporting, which can be more cumbersome when using spreadsheets that require manual updates and imports.
What are the advantages of using a digital expense tracker over manual spreadsheets?
Using a digital expense account and tracker offers several advantages over manual spreadsheets.
Automation
Digital expense trackers can automatically categorize and sum up expenses, saving you time and effort compared to manually entering and calculating the cost of each expense.
Real-time updates
Digital trackers can provide real-time updates on your expenses, giving you an accurate and up-to-date view of your financial situation.
Accessibility
Digital trackers can be accessed from anywhere with an internet connection, allowing you to update and review your expenses on the go.
Integration
Some digital trackers can integrate with bank accounts and credit cards, automatically importing and categorizing transactions, reducing time-consuming manual entry.
Analysis and insights
Digital trackers often come with built-in analysis tools, such as charts and graphs, to help you gain insights into your spending habits and patterns and make more informed financial decisions.
Security
While manual spreadsheets and digital trackers can be secure, digital trackers often have built-in security features, such as encryption and two-factor authentication, to protect your financial data.
A digital expense tracker can help you manage your expenses more efficiently, save time, and gain better insights into your financial habits.
Frequently asked questions
How can a Google Sheets expense tracker benefit you?
A Google Sheets expense tracker helps you keep your finances in check and provides insights into identifying spending trends.
Is there any alternative to manual spreadsheets?
Digital tools, like Shoeboxed, are an alternative to manual spreadsheets. These tools make tracking expenses a much quicker and less cumbersome process.
In conclusion
Google Sheets expense tracker will keep your finances in check and provide insights into identifying spending trends. Digital tools like Shoeboxed offer a comprehensive, efficient, and IRS-compliant way to track and manage receipts and expenses efficiently. Its automation, ease of use, and integration capabilities make it an excellent choice for businesses and individuals looking to streamline their expense tracking and document management processes.
Caryl Ramsey has years of experience assisting in different aspects of bookkeeping, taxes, and customer service. She uses a variety of accounting software for setting up client information, reconciling accounts, coding expenses, running financial reports, and preparing tax returns. She is also experienced in setting up corporations with the State Corporation Commission and the IRS.
About Shoeboxed!
Shoeboxed is a receipt scanning service with receipt management software that supports multiple methods for receipt capture: send, scan, upload, forward, and more!
You can stuff your receipts into one of our Magic Envelopes (prepaid postage within the US). Use our receipt tracker + receipt scanner app (iPhone, iPad and Android) to snap a picture while on the go. Auto-import receipts from Gmail. Or forward a receipt to your designated Shoeboxed email address.
Turn your receipts into data and deductibles with our expense reports, including IRS-accepted receipt images.
Join over 1 million businesses scanning & organizing receipts, creating expense reports, and more—with Shoeboxed.
Try Shoeboxed today!
